REVIEW · SAN FRANCISCO
Fisherman’s Wharf Self-Guided Walking Tour and Hunt
Book on Viator →Operated by Tourist Scavenger Hunt · Bookable on Viator
A walking scavenger hunt beats another generic checklist. This private, self-guided mobile tour turns Fisherman’s Wharf into a sequence of photo-stop vibes and quick challenges, running from Taylor Street up through Russian Hill and North Beach toward Pier 39.
I like that the route mixes big-name landmarks with small moments you might otherwise miss, including USS Pampanito and a stop that brings you to the San Francisco Art Institute area. I also like the format: instructions on your phone in English or French, with 20+ challenges spaced out along the way.
One thing to consider: it runs on a smartphone and internet access, and if you get stuck on a challenge it can slow your pace, especially with the steep walking sections.
In This Review
- Key things to know before you go
- Starting at 2800 Taylor St: how the hunt actually works
- Pacing: why 3 hours can turn into 4–5
- Fisherman’s Wharf: USS Pampanito and the signs you’ll suddenly care about
- Powell and Market cable car turnaround: a landmark with real momentum
- Aquatic Park and the Maritime Museum: where the shoreline changes pace
- Ghirardelli Square and the challenge rhythm
- Up Russian Hill to George Sterling Park: the lookouts earn the climb
- Lombard Street: the twist, the stairs, and the stop worth it
- San Francisco Art Institute and Macondray Lane: the calm turn toward character
- Washington Square to Coit Tower area: views plus a city-brain moment
- Joe DiMaggio Playground and North Beach Pool: ending with local rhythm
- The download and challenge snag: how to handle it without ruining your day
- Value and who this hunt suits best
- Should you book the Fisherman’s Wharf self-guided hunt?
- FAQ
- How long is the Fisherman’s Wharf self-guided walking tour and hunt?
- Where does the tour start and end?
- Is it available in English and French?
- What do I need on my phone to do the tour?
- Is this tour private?
- How active is this walking experience?
- Can service animals join?
- What if I can’t figure out a challenge?
Key things to know before you go
- Smartphone-based hunt: you follow a mobile site with instructions and challenges as you walk
- English or French: download instructions in the language you prefer
- Wharf to North Beach route: Fisherman’s Wharf up Russian Hill to Lombard Street, then toward Washington Square and Coit Tower
- 20+ challenges: tasks keep you moving and noticing details you’d otherwise gloss over
- Plan for uphill walking: the route can feel longer than the stated 3 hours
Starting at 2800 Taylor St: how the hunt actually works
This is a private self-guided experience, meaning only your group is doing the scavenger hunt. There’s no guide herding you along, which is great if you like to pause, take photos, or go at your own pace.
The hunt is built around your phone. You download the instructions and follow them through a mobile website. The key practical point: you need internet access on your smartphone. If your phone struggles with downloads or the connection is flaky, the whole experience can feel harder than it should.
If you’re the type who hates being stuck on quizzes, pay attention to this part: challenges may feel vague or detailed. But you should know you’re not locked out forever. You have two attempts at every challenge, and if you want to move forward you can answer anything to proceed. That small detail changes how you should approach the hunt: treat it like a walking game, not a test.
You can also read our reviews of more walking tours in San Francisco



Pacing: why 3 hours can turn into 4–5
The tour is listed at about 3 hours, but the terrain is the real story. This route climbs from the Wharf area up through Russian Hill and toward Lombard Street, then continues through the North Beach side streets.
So here’s my practical advice: plan for 4 to 5 hours if you want a relaxed pace, time for lookouts, and the usual stop-for-a-snack rhythm. Even if you’re fast on flat sidewalks, San Francisco’s hills can stretch time quickly.
If you have moderate physical fitness, you’ll likely manage fine, but you should expect stairs, slopes, and repeated climbs—especially around the Lombard Street approach and the lookouts above the city.
Fisherman’s Wharf: USS Pampanito and the signs you’ll suddenly care about
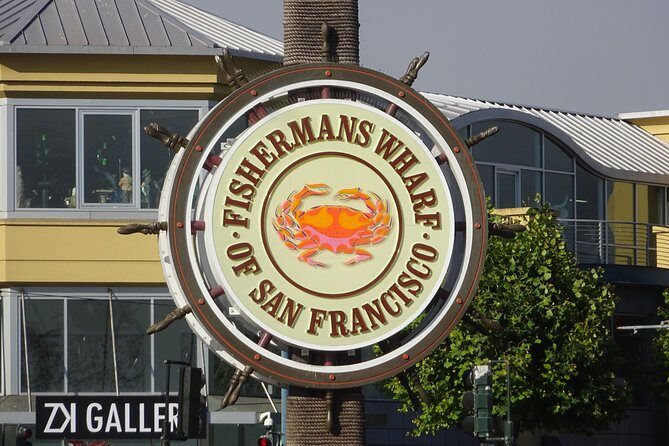
You start near 2800 Taylor St, in the Fisherman’s Wharf zone. That matters because you’re walking into one of the most tourist-dense areas of San Francisco—so the hunt’s structure is what makes it feel more personal.
One of the first motivators is the famous Wharf signage area, plus a short explanation about two WWII-era sea memorials:
- USS Pampanito, a decommissioned WWII submarine that served from 1944 to 1971
- SS Jeremiah O’Brien, a 1940s Liberty Ship memorial
Even if you’re not a naval history person, this is useful because it gives you language for what you’re seeing. Instead of just walking past metal and plaques, you’re learning what the ships represent and why they’re preserved.
Then the hunt nudges you around classic Wharf stops:
- Musée Mécanique (you’ll walk by)
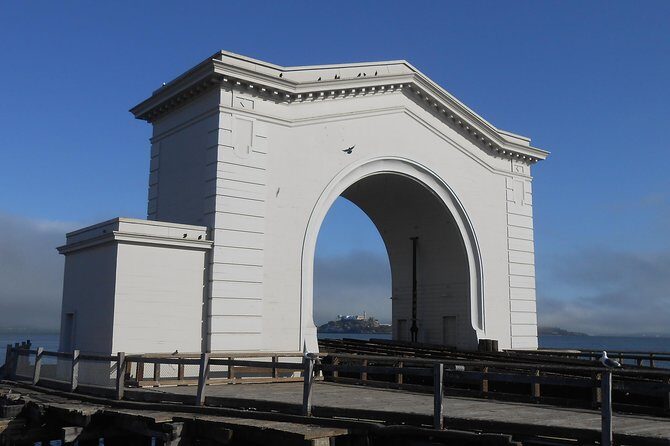
- Pier 43 Ferry Arch (you’ll walk by)
- Alioto’s and Boudin Bakery Cafe (one of the challenges focuses on a restaurant around you)
That restaurant challenge is a clever tactic. You’re not only looking at scenery—you’re paying attention to the people-and-place part of the neighborhood.
Powell and Market cable car turnaround: a landmark with real momentum

Next you hit the Powell and Market cable car turnaround area. This is one of those places where watching cables and waiting for cars to inch into position feels like part theater, part transportation.
For the hunt, it’s valuable because it’s a visual anchor. Once you see the turnaround and hear that rhythmic cable-car clank in your imagination, the rest of the climb feels connected rather than random.
Practical note: this area can be crowded. That’s not a tour flaw; it’s the neighborhood. If you’re doing the hunt during peak hours, your best bet is to treat the cable car stop as a slow-down moment rather than trying to speed past it.
Aquatic Park and the Maritime Museum: where the shoreline changes pace
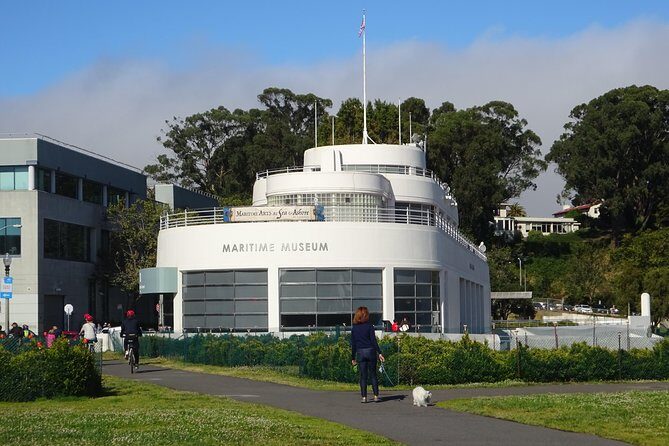
From the Wharf energy, the route moves toward Aquatic Park and includes a stop that connects with the San Francisco Maritime Museum area and the Aquatic Park Bathhouse Building.
This is a nice shift because the shoreline here feels more open and calmer than right next to the most crowded attractions. The hunt uses that change in scenery to keep you from burning out—your eyes get a breather before the hills really start to stack up.
If you like looking for urban design details, this section rewards you. Bathhouse architecture along the water is one of those San Francisco quirks you’d miss if you were only chasing the postcard views.
You can also read our reviews of more guided tours in San Francisco





Ghirardelli Square and the challenge rhythm
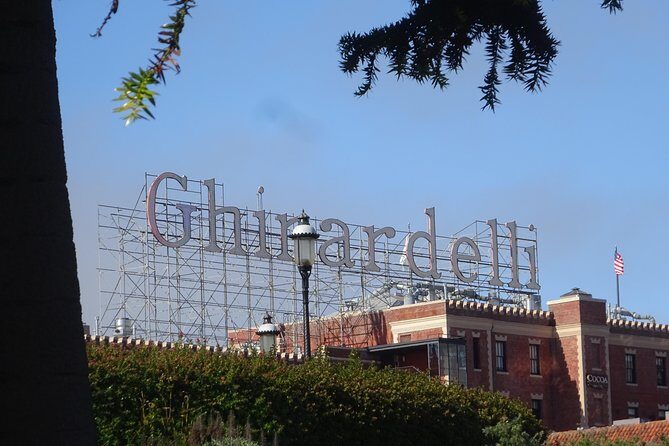
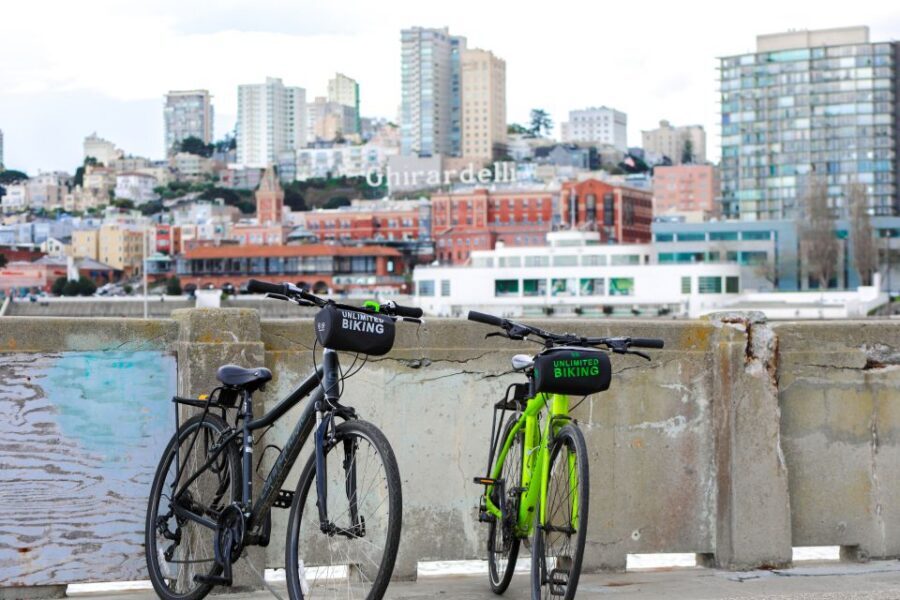
Then you reach Ghirardelli Square. It’s famous enough that you won’t need an explanation to find it, but the hunt’s approach can still make the stop more interesting than a quick walk-through.
Here’s why it helps: it keeps the energy controlled. Instead of wandering, you’re thinking about the next clue, and that’s exactly what helps in a busy area. You’re still free to snack, photograph, and linger—but your day has structure.
If you’re doing this on a tight schedule, treat Ghirardelli as a short checkpoint. If you’re enjoying the walk, it’s a natural spot to reset before heading up into Russian Hill territory.
Up Russian Hill to George Sterling Park: the lookouts earn the climb
The hunt then shifts into the “walk and look” portion of the day: Russian Hill, then George Sterling Park, then onward.
Russian Hill in particular is all about perspective. You’re moving through neighborhoods where the streets feel like they’re sculpted for viewpoints. The hunt is effectively guiding you toward those angles.
George Sterling Park works as a payoff zone because parks and overlooks are where a scavenger format feels smart. You get to pause, read the scene (even if you’re not doing the clue perfectly), and enjoy the fact that you’re actually working your way through the city rather than only skimming the flat zones.
If hills are a concern, here’s your clue from the route itself: you’re climbing. Pace yourself. Short breaks here make the next section around Lombard Street way more enjoyable.
Lombard Street: the twist, the stairs, and the stop worth it
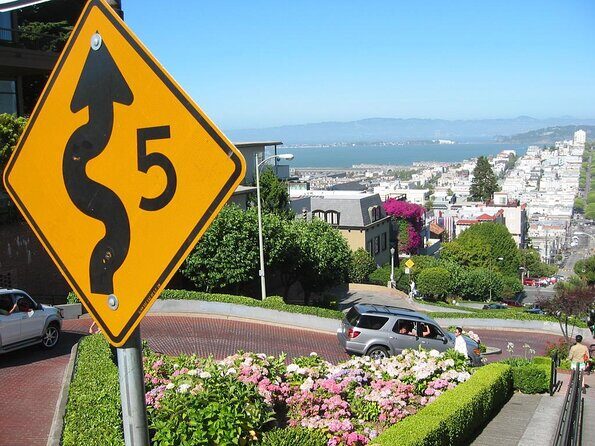
No San Francisco walk is complete without Lombard Street, and the hunt specifically sends you to see the “twisty Lombard Street” area.
This is a big-name attraction, but the hunt makes it more than a photo stop. You’re approaching it as part of a trail with reasons to be in the right place at the right time.
The potential drawback is also straightforward: crowds and steep access. If you arrive when it’s busy, it can take extra time to work your way to the best angles. That’s one reason to plan 4–5 hours total rather than squeezing this into a quick half-day.
San Francisco Art Institute and Macondray Lane: the calm turn toward character
After the major attraction energy, the route takes you to San Francisco Art Institute, then onward through Macondray Lane.
This section is a smart contrast. You go from the most iconic tourist twist to a quieter zone where the city feels more lived-in. Even if you don’t go inside anywhere, the streets and viewpoints give the hunt a different texture.
This is also where the scavenger hunt format shines. The challenges push you to pay attention to surroundings and small details, which helps you avoid the “I saw that, next” trap.
If you care about art institutions, you’ll likely enjoy the relevance of the Art Institute stop because it gives you a reason to be there beyond the fact that it’s on a route.
Washington Square to Coit Tower area: views plus a city-brain moment
Next you reach Washington Square. The broader route also takes you toward the Coit Tower area (the walk is designed to get you there as part of the experience).
This is another payoff stop. Washington Square is open and visually different from the tighter blocks around it, which makes it a good moment to stop thinking about the phone for a second and just look around.
The hunt’s value here is that it provides structure around an area people often visit casually. Instead of showing up, taking one photo, and moving on, you’re working through the route’s logic—so the neighborhood feels more connected.
Joe DiMaggio Playground and North Beach Pool: ending with local rhythm
Then you finish with the Joe DiMaggio Playground and North Beach Pool area as you continue into North Beach.
This is a good ending vibe because North Beach doesn’t feel like a single attraction—it feels like a neighborhood. After all the “see this, then that” stops, a local-style public space is a strong way to wrap up your walk.
The hunt is designed to bring you back down toward Pier 39, near where you started, so the end feels like a natural circle back rather than a one-way slog.
The download and challenge snag: how to handle it without ruining your day
Two issues come up in a way that matters for your planning.
First: the download can be tricky. If your phone needs extra time to load instructions, give yourself that buffer. Do it before you’re standing in a busy sidewalk crowd.
Second: challenge navigation can frustrate you if you expect everything to be forgiving. The hunt can include questions that feel detailed or hard to interpret. The important workaround is in the rules: you get two attempts on each challenge, and you can answer anything to move ahead if you just want progress.
So my advice is simple:
- Treat challenges like guidance, not like a trivia exam.
- If you’re stuck, make a quick best guess and keep walking.
That mindset keeps the experience fun instead of stressful.
Value and who this hunt suits best
This is not a traditional guided tour with a person talking in your ear. It’s a game-style walking experience that pays off when you like independent exploring but still want prompts.
It’s a strong fit for you if:
- you want to explore San Francisco’s Fisherman’s Wharf, Russian Hill, and North Beach areas in one connected loop
- you like learning through short tasks rather than lectures
- you prefer flexibility to pause for photos or snack stops
It may not be the best fit if:
- you hate using your phone while walking
- your internet connection is unreliable
- you strongly dislike puzzles that require specific answers
Should you book the Fisherman’s Wharf self-guided hunt?
Book it if you want an affordable-feeling way to turn a familiar tourist zone into a walk with purpose. The route has enough variety—submarine memorials, cable car landmark energy, shoreline calm, hillside viewpoints, and North Beach streets—to keep you interested without needing a guide.
Don’t book it if you’re looking for a smooth, hassle-free outing where you can completely ignore your phone. The experience depends on downloading instructions and staying responsive to challenges, and the hills mean you’ll be walking more than a flat sightseeing day.
If you go in prepared—phone ready, internet available, shoes on, and a 4–5 hour mindset—you’ll likely find this is a smart way to experience San Francisco’s scenery with a little brain-and-footwork entertainment.
FAQ
How long is the Fisherman’s Wharf self-guided walking tour and hunt?
It’s listed at about 3 hours, but the route includes steep walking, so you may want to plan closer to 4 to 5 hours.
Where does the tour start and end?
It starts at 2800 Taylor St, San Francisco, CA 94133. It ends back at the meeting point, near the start area (the finish is by Pier 39).
Is it available in English and French?
Yes. The smartphone instructions are available in English and French.
What do I need on my phone to do the tour?
You’ll need the scavenger hunt instructions on your smartphone through a mobile site, and internet access is required.
Is this tour private?
Yes. It’s private, so only your group participates.
How active is this walking experience?
It’s recommended for people with moderate physical fitness, since the walk includes strenuous uphill sections.
Can service animals join?
Yes, service animals are allowed.
What if I can’t figure out a challenge?
You have two attempts at every challenge. If you want to move on, you can answer anything to proceed.