REVIEW · SAN FRANCISCO
San Francisco Shore Excursion: Napa & Sonoma Full-Day Wine Tour
Book on Viator →Operated by Tower Tours - San Francisco's Sightseeing Specialist · Bookable on Viator
Wine country starts with a bus and a bridge. This Napa & Sonoma shore excursion packs in winery estate time, tasting tips, and actual time to wander a Sonoma square, all in about 9 hours from San Francisco. I also like that you get a guided day with three winery stops and multiple tastings per place, not just a quick pour-and-go. The main thing to watch: the schedule can feel long, and the bus ride can be tight for taller folks—plus seating isn’t set up for easy wine-bottle storage.
You start at 99 Jefferson St at 8:30am and return back to the same meeting point, with a maximum group size of 40. It runs in all weather, and tasting at one stop can be outdoors, so plan like you’re going to spend real time in the elements. If you’re hoping for a perfectly smooth timeline, keep your expectations flexible—some days run a bit late.
In This Review
- Key things I’d plan for on this Napa & Sonoma tour
- A Full-Day Bus Ride North: How the Golden Gate Sets the Tone
- Price and Value: What $140.25 Really Buys You
- Stop 1: Madonna Estate in Carneros—Estate Tour Meets Tasting Tips
- Lunch Break in Sonoma Square (and the Yountville option): Use It Wisely
- Stop 2: Sutter Home Winery—Familiar Name, Big Views, Easy Flow
- Stop 3: RuVango Winery in Carneros—Outdoors, Quiet Vibe, Flexible Logistics
- How the Tastings and Tours Really Feel in a 9-Hour Day
- Timing, Delays, and Restroom Breaks: The Stuff That Impacts Your Comfort
- Which Winery Style Matches Your Taste?
- Who This Tour Is Best For (and Who Should Skip It)
- Should You Book This San Francisco Napa & Sonoma Shore Excursion?
- FAQ
- How long is the Napa & Sonoma shore excursion?
- Where does the tour start in San Francisco?
- How many wineries do you visit, and how long is each stop?
- Is the lunch included, or is it an add-on?
- Are the tastings always indoors?
- What’s the minimum drinking age?
Key things I’d plan for on this Napa & Sonoma tour
- Golden Gate Bridge views early in the day, including a scenic drive over the bridge
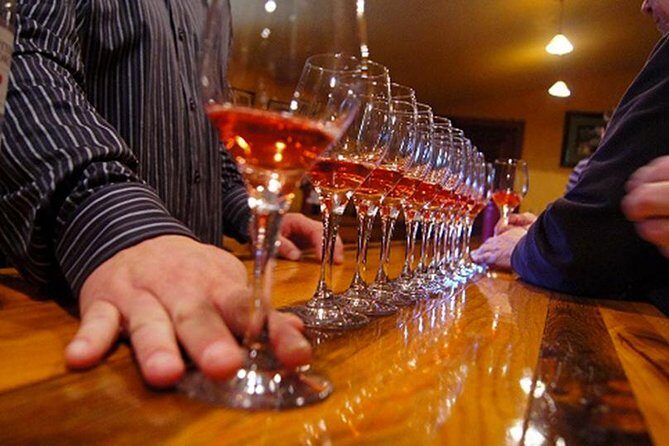
- Three wineries, ~1 hour each, with tours plus tastings (typically 3–5 tastings per winery)
- Madonna Estate in Carneros with an estate-style tour and wine tasting
- Lunch freedom in Sonoma Square (or Yountville area) for shopping, art galleries, and food options
- RuVango may be outdoors and the winery location can change without notice
- A compact bus experience: good for most, but not ideal if you’re tall or need space for wine purchases
A Full-Day Bus Ride North: How the Golden Gate Sets the Tone
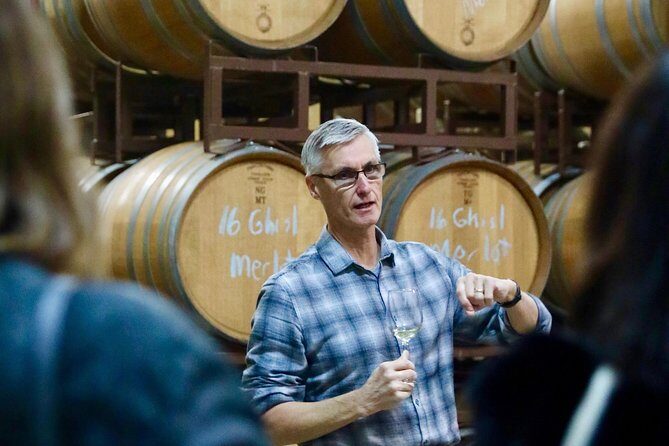
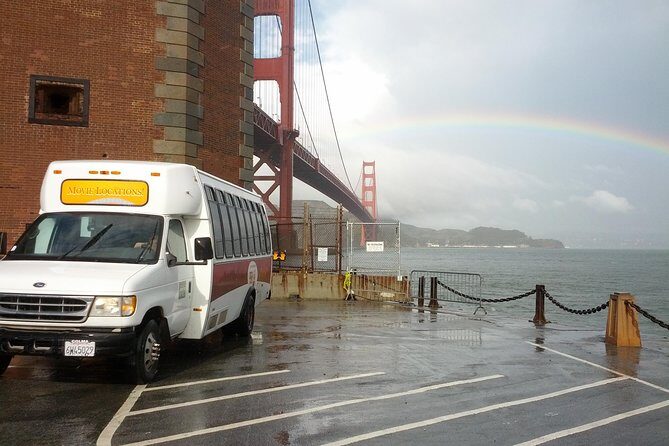
This is a classic California day trip format: you leave San Francisco, cross the Golden Gate, and spend your day in Napa and Sonoma with a mix of guided structure and small pockets of free time. The tour lasts about 9 hours, starting 8:30am at 99 Jefferson St, and you’re back at the meeting point by the end.
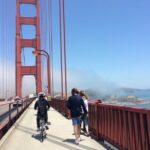
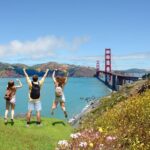
That early Golden Gate segment matters more than it sounds. It’s your time to switch from city mode to “vines and hills” mode, and it gives you a visual anchor for everything you’ll learn later in the wineries. If you’re prone to getting impatient on long drives, this is at least an attractive way to spend the miles.
The group size stays to 40, which helps the pacing stay orderly. The guide is there for wine education and tasting tips, and you’ll also get a bit of San Francisco context from the driver/guide on the ride north—some guides (like Steve, James, Grady, Thomas, Willie, and Bob) are repeatedly praised for being friendly and good at keeping things moving.
You can also read our reviews of more wine tours in San Francisco
Price and Value: What $140.25 Really Buys You
At $140.25 per person, you’re paying for more than just tasting. You’re buying:
- Round-trip coach transportation from San Francisco
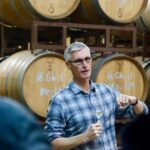
- An expert guide running the day
- Three winery stops with tours and tastings (with multiple tastings per winery)
- A full day of scheduled wine-country time, so you don’t have to plan routes, timing, or reservations
That “scheduled time” is where the value is. Napa and Sonoma are spread out, and self-driving plus booking can quickly turn into a logistics puzzle—especially if you’re short on time because this is a shore excursion.
One note on add-ons: there’s an optional lunch upgrade for an added $40.00 per person. There are also optional “bonus” city experiences listed as included in the broader offering—like a 24-hour hop-on hop-off tour, a 1-hour panoramic sunset tour, and a 1-hour self-guided Chinatown walk—but those are only included if you selected that option.
So think of the base tour as the wine-day engine. Any city extras are nice bonuses, but they shouldn’t be counted on unless they’re selected.
Stop 1: Madonna Estate in Carneros—Estate Tour Meets Tasting Tips
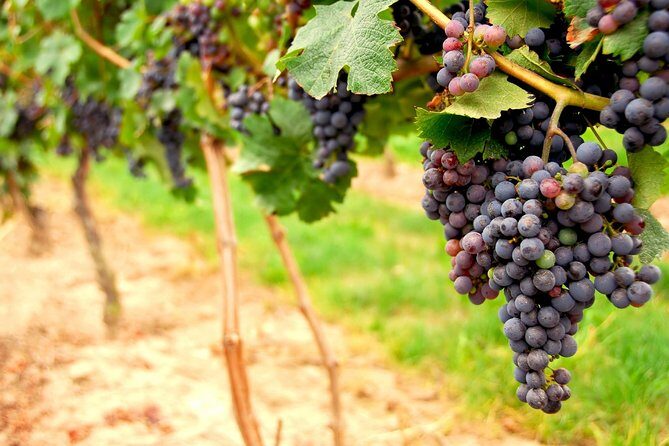
Your first winery stop is Madonna Estate, in the Carneros region. Carneros is known for a cooler climate and fertile lands, and that context helps you understand why the wines taste the way they do—more than if you were just handed a glass with no background.
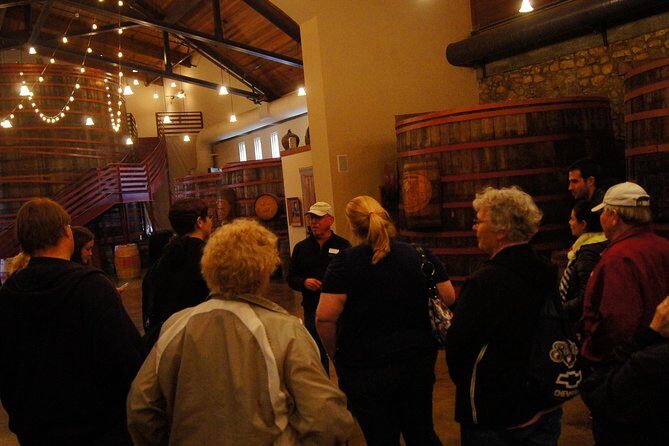
What makes this stop especially appealing is the estate-style tour plus tasting. You’re not only tasting; you’re also learning basic wine education and tasting guidance. Expect a fairly structured visit that lasts about 1 hour, with admission included.
A subtle advantage: an estate tour early in the day sets a baseline for what to pay attention to. If you’re trying to learn something you can actually use—like how to evaluate flavor, balance, or what to ask during later tastings—starting with a more educational approach helps.
Lunch Break in Sonoma Square (and the Yountville option): Use It Wisely
Lunch is where the tour turns from guided to flexible. During the lunch break, you’ll stop at either:
- Historic Downtown Sonoma Square, or
- V Marketplace in Yountville (depending on the day)
You get about 1 hour of leisure time (or 1 hour 30 minutes if you purchase the optional lunch add-on). This is enough time to eat if you pick a place quickly—but it’s not long enough to wander deeply if you’re a slow browser.
The big win here is that these areas are walkable and “do-able” without a plan. You can pop into boutique shops, check out local art galleries, or just take a breath after the winery learning.
Here’s the practical tip: if you’re buying lunch on your own, pick something you can do in one stop—main street lines up fast. If you’d rather avoid decision stress, the optional lunch add-on exists for a reason.
Also watch your hunger timing. Some tours can run a little behind, and if lunch hits later than you hoped, you’ll feel it. I’d bring water and a light snack before you board if you’re the type who gets cranky without food.
Stop 2: Sutter Home Winery—Familiar Name, Big Views, Easy Flow
Next up is Sutter Home Winery, known for being one of the largest family-run independent wineries in the U.S. It’s also the estate associated with White Zinfandel.
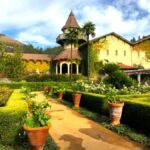
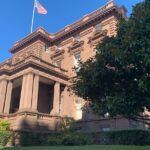
This stop includes about 1 hour, and the tasting experience is tied to a visitor center and tasting room setup. You’ll see vineyard views, a historic Victorian mansion, and rose gardens, which adds some charm without turning the visit into a long museum-style detour.
For many people, Sutter Home works as the “breather” stop. The mood tends to feel more open and straightforward: arrive, get guided tasting education, and enjoy the property setting.
If you’re looking for a very hands-on, production-focused look at how everything works, the day’s structure may or may not match what you personally expect from a winery tour. The official promise for each stop is a tour plus tasting time, but the depth of what you see can vary by location and setup.
You can also read our reviews of more tours and experiences in San Francisco
Stop 3: RuVango Winery in Carneros—Outdoors, Quiet Vibe, Flexible Logistics
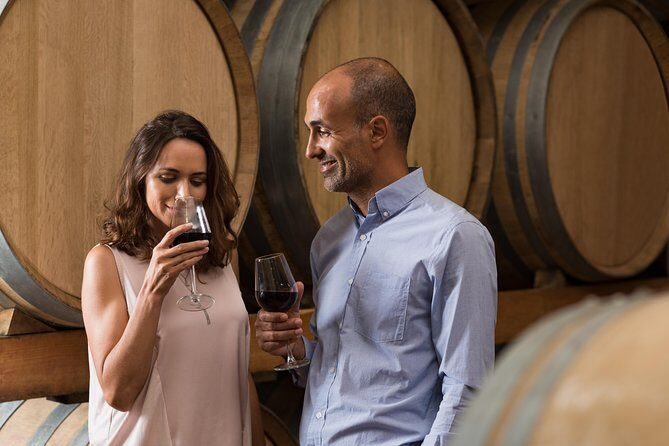
Your final winery stop is RuVango Winery, described as a quieter, calmer spot in the Carneros Valley. This one is a little more “intimate” and staff-driven, and the staff interaction is often a highlight—people tend to appreciate that the team is welcoming and shares wine knowledge in a way that’s easy to talk with.
There’s one important detail to know: the winery location can change without notice, and all tastings will take place outdoors.
That means you should dress like the day matters. Sun protection if it’s bright. Layers if it’s cool. And comfortable shoes, because time outdoors can make you notice ground and weather faster than you expect.
The outdoors tasting element is also why RuVango can feel memorable. Even if you’re not a super-serious wine person, the setting helps make the last stop feel like an experience rather than a checklist item.
How the Tastings and Tours Really Feel in a 9-Hour Day
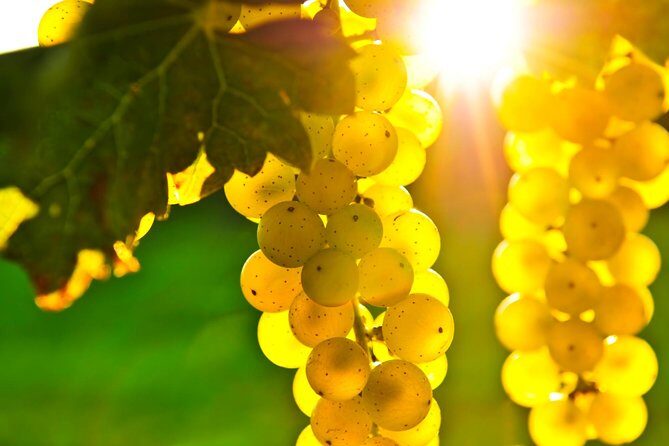
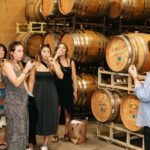
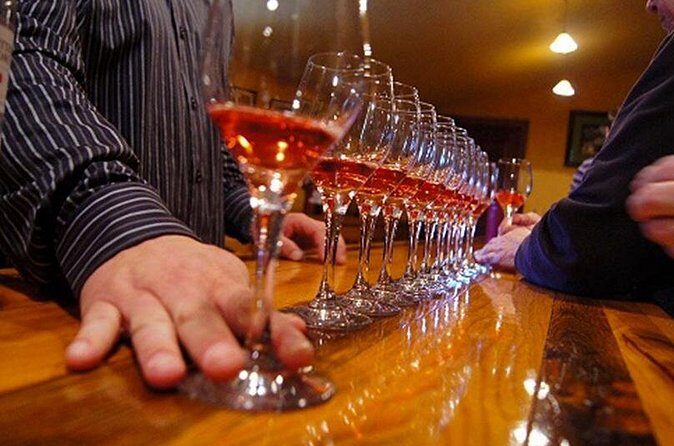
The tour runs on a tight time rhythm: about 1 hour at each winery. Within that window, you’ll typically get 3–5 tastings per winery, along with a tour and tasting guidance.
That’s enough time to learn the basics and taste multiple styles. It’s also why the day works best if you go in with a realistic mindset:
- You’re not doing deep, slow, “every barrel gets explained” immersion.
- You are doing structured tasting education with a guided path.
- You’ll likely make quick comparisons across wineries, which is great for beginners and intermediate wine fans.
Now the practical reality: bus comfort can affect your enjoyment. A few issues show up in feedback: the bus may feel small for taller people, and there’s limited space for storing wine purchases. There’s also been at least one mention of hot conditions when air conditioning wasn’t working, so I’d treat this as something to prepare for—especially in summer.
Finally, guides vary from day to day in how they handle commentary on the bus. When the driver/guide is in a friendly teaching mode, the day feels smoother. When communication is harder (for example, if speech is difficult to understand), you lose some of the value of the “education” part. The upside is that the winery stops still have their own guided structure.
Timing, Delays, and Restroom Breaks: The Stuff That Impacts Your Comfort
This tour is designed to be efficient, but “shore excursion pace” can sometimes mean minor friction. Check-in is generally reported as easy, but departure timing can slide when the group isn’t perfectly on schedule.
Also consider restroom planning. If you’ve got a short attention span for discomfort, know that you may not have frequent breaks. There was feedback that it would help to have restroom access after an hour drive, but the day is still mainly built around winery stops and the lunch break.
My advice: use the bathroom before you board, and keep expectations for frequent stops modest.
Which Winery Style Matches Your Taste?
This tour gives you variety across three wineries:
- Madonna Estate (Carneros) leans toward estate-style touring and education.
- Sutter Home mixes a recognizable name with gardens, mansion views, and an easy visitor center flow.
- RuVango is quieter and outdoors, with a staff-driven feel and flexible setup.
If you’re the kind of person who learns best by asking questions, RuVango’s staff approach can work well. If you want the most structure and context early, Madonna Estate helps you set your tasting “lens” for the rest of the day. And if you want a pleasant stop with scenery and familiar accessibility, Sutter Home is often a comfortable middle.
If you’re a perfectionist about wine quality, remember that wine is personal. With multiple tastings and different styles, you’re likely to find some bottles you love—but you might also leave with a “not my thing” or two.
Who This Tour Is Best For (and Who Should Skip It)
This tour is a strong match if you want:
- A one-day Napa/Sonoma taste without planning driving and reservations
- A day built around multiple tastings and guided education
- The option of a lunch break where you can wander a real town square (Sonoma Square or the Yountville area)
It’s less ideal if you want:
- Ultra-deep production access at every stop (the tour depth can vary by winery setup)
- A totally hands-off experience with no outdoor weather factors (RuVango tastings are outdoors)
- A super-long lunch or lots of extra sightseeing time beyond wineries
And if you’re sensitive to bus comfort, plan smart: bring a light layer, drink water, and consider how you’ll carry any wine purchases.
Should You Book This San Francisco Napa & Sonoma Shore Excursion?
Book it if you want a structured full-day wine experience with transportation solved for you and enough time at each winery to actually taste and learn. The price makes sense when you factor in coach transport, three guided winery visits, and the tasting volume. Add in the Golden Gate views and the Sonoma lunch break, and you get a day that feels more like a planned outing than a rushed hop between stops.
Skip it if your priority is long, slow winery touring with maximal restroom access and lots of flexible downtime. Also skip (or at least prepare) if outdoor tastings and bus comfort are dealbreakers for you.
If you do book, I’d set yourself up for success with three small moves: dress for outdoor tasting, plan for a compact bus ride, and treat the lunch hour as a chance to eat fast and browse lightly rather than a full town-day.
FAQ
How long is the Napa & Sonoma shore excursion?
It runs for about 9 hours (approx.), starting at 8:30am and ending back at the meeting point.
Where does the tour start in San Francisco?
The meeting point is 99 Jefferson St, San Francisco, CA 94133, and the tour ends back there.
How many wineries do you visit, and how long is each stop?
You visit three wineries, and you spend about 1 hour at each winery for the tour and tasting.
Is the lunch included, or is it an add-on?
Lunch is offered as a break where you can explore Sonoma Square or V Marketplace in Yountville. There’s also an optional lunch add-on for $40.00 per person.
Are the tastings always indoors?
No. At RuVango Winery, the tasting is outdoors, and the winery location can be subject to change.
What’s the minimum drinking age?
The minimum drinking age is 21 years.