REVIEW · SAN FRANCISCO
From San Francisco: Carmel, Monterey & Big Sur Private Tour
Book on GetYourGuide →Operated by Dingo Tours · Bookable on GetYourGuide
Big Sur has a way of making you forget the clock. This private day trip pairs that coastline drama with easy, car-based pacing and local know-how. You get a guide in the car who can steer you toward quick photo stops and the right amount of time in each place, plus the freedom to say yes or no as the day unfolds.
I especially like two parts: the 17-Mile Drive scenery laid out as a smooth, scenic loop, and the Monterey mix of the Monterey Bay Aquarium plus Fisherman’s Wharf vibes without feeling trapped on a rigid schedule. One consideration: this is a long coast day by car, and the tour car has rules (no eating, smoking, or drinking alcohol), so you’ll want to plan breaks around that.
In This Review
- Key Things That Make This Private Coast Day Work
- The Value of a Private Car: Touring Highway 1 Your Way
- From San Francisco to Carmel: Mission District Vibes and Coast Road Energy
- 17-Mile Drive: The Forested Scenic Loop That Turns Transit Into a Destination
- Monterey Bay Aquarium Plus Fisherman’s Wharf: Two Kinds of Town Energy
- Big Sur Core Highlights: Bixby Creek Bridge Views Without the Chaos
- Food, Photo Stops, and the Car Rules You Should Actually Plan For
- Guides Matter: How Fred and Marciano Change the Day
- Price and Logistics: What $926 Per Group Really Buys You
- Who This Tour Fits Best (and Who Might Not Love It)
- So, Should You Book It?
- FAQ
- How long is the Carmel, Monterey & Big Sur Private Tour?
- Is pickup from San Francisco included?
- What’s included in the price, and what isn’t?
- What languages are available for the guide?
- Is there free cancellation?
- Is wheelchair access available?
Key Things That Make This Private Coast Day Work
- Private guide flexibility: You choose what to see, and your guide helps you shape the day in real time.
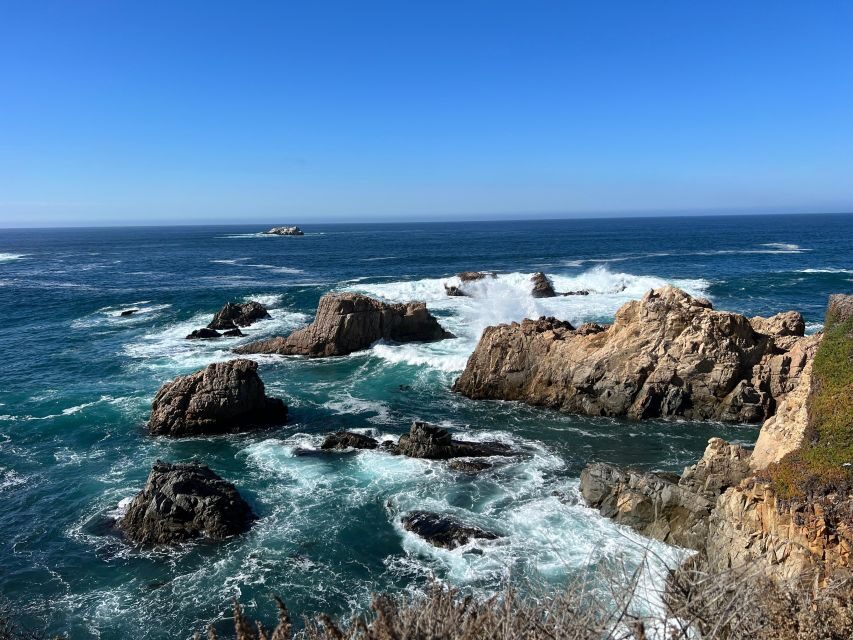
- Big Sur’s signature pullouts: Expect the coast views around Bixby Creek Bridge and the nearby Point Lobos State Reserve area.
- Monterey highlights, paced for comfort: Monterey Bay Aquarium time plus Fisherman’s Wharf, with room to adjust.
- 17-Mile Drive as a scenic backbone: A forested drive that turns the route into part of the experience.
- Known guides with a safety-first style: Reviews mention guides like Fred and Marciano handling timing, requests, and calm driving.
The Value of a Private Car: Touring Highway 1 Your Way
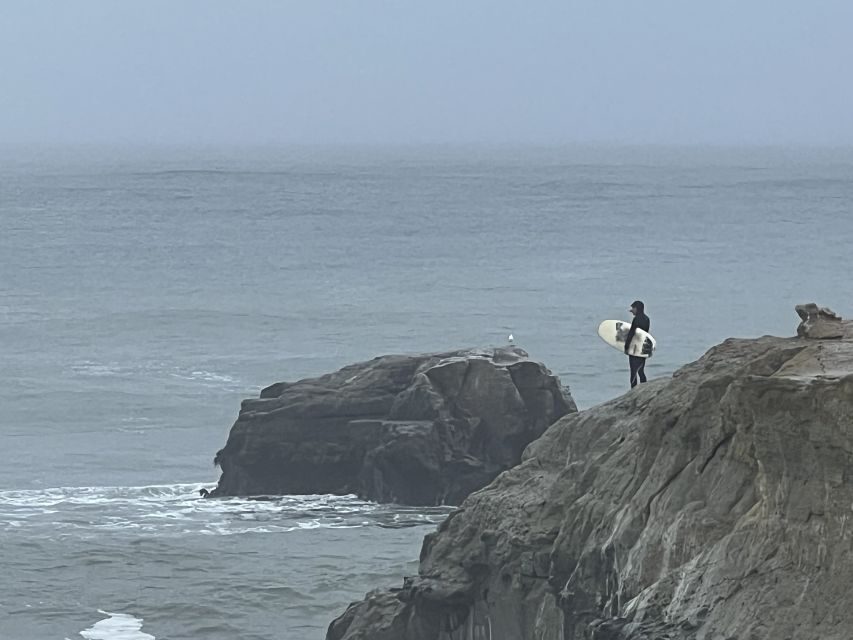
If you’re doing the Carmel–Monterey–Big Sur stretch, the biggest win isn’t just the scenery. It’s the control. This tour is set up as a private group up to 4, with pickup from your San Francisco accommodation and round-trip transportation handled for you. That means you can focus on the coast instead of stitching together directions, parking strategy, and timing.
A 10-hour day also matters. You’re not “rushing through icons” for a quick snapshot. You’re building a full day that fits the way coastal sightseeing actually works: pullouts take time, photo angles change by the minute, and you might want more (or less) time in one town than you planned.
Your guide is in the car with you and offers recommendations as you go—especially for where to stop and when. The goal is a smooth rhythm: scenic driving, a few well-chosen stops, then time to actually enjoy the places.
You can also read our reviews of more private tours in San Francisco


From San Francisco to Carmel: Mission District Vibes and Coast Road Energy
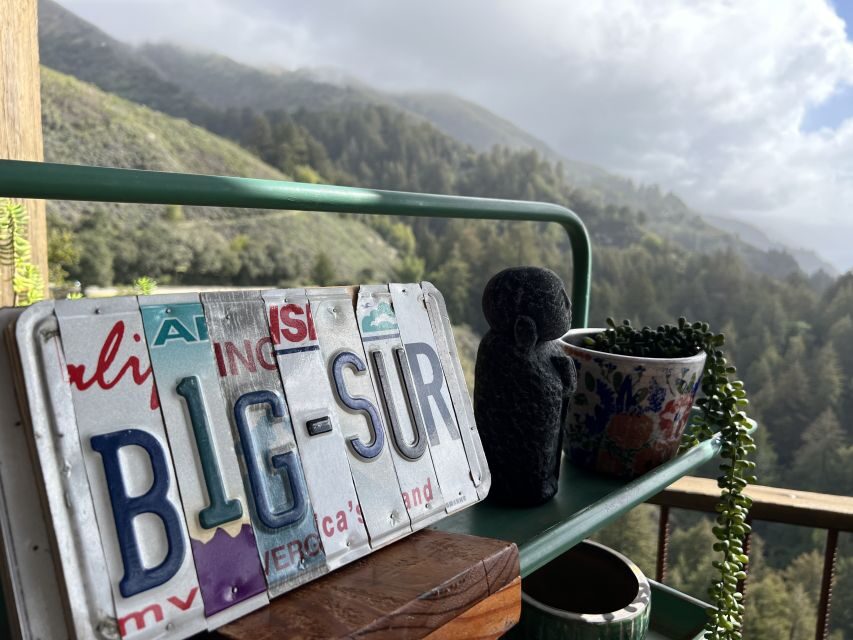
The day starts with pickup in San Francisco, then the drive heads south via State Route 1, the main highway that hugs the Pacific coastline through this region. Right away, you’re not just traveling—you’re seeing. The road itself is part of the experience here, with constantly shifting views and roadside stopping points.
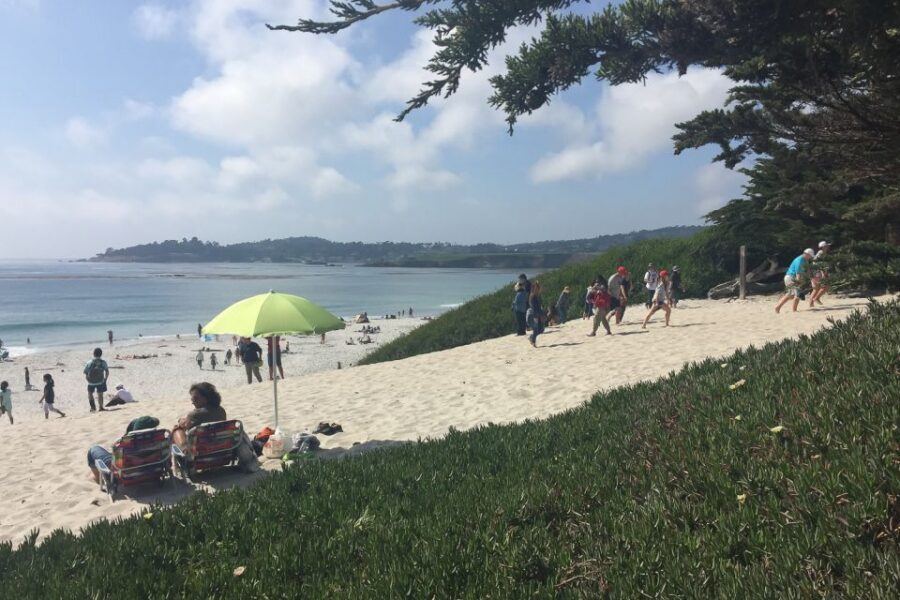
Carmel tends to reward slow wandering, and this tour’s private setup lets you treat it that way. You’ll get time around Carmel’s Mission District area, and you can also aim for classic nearby sights your guide suggests. In reviews, guides like Fred have been flexible with routes and requests, including adding stops that match a traveler’s interests (like architecture stops or overlook areas). If Carmel is your “walk-around town” stop, you’ll appreciate that you can shape the pacing instead of being yanked along.
Practical note: the tour car has rules—no eating, smoking, or drinking alcohol in the vehicle. That’s not a dealbreaker, but it does change how you plan breaks. Think of meals as “outside-the-car” moments, timed around the stops you choose.
17-Mile Drive: The Forested Scenic Loop That Turns Transit Into a Destination
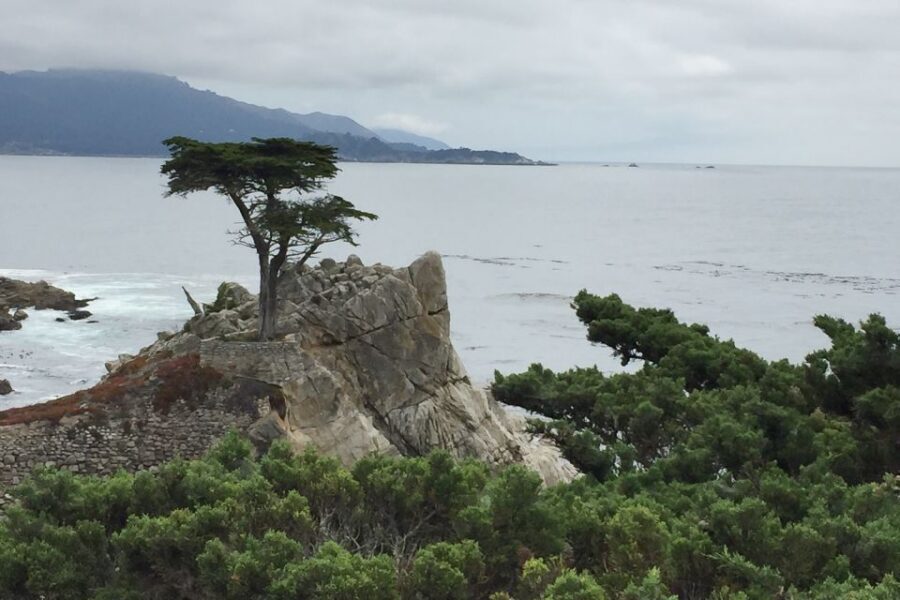
This is one of the clearest reasons to pick a private car for this itinerary. 17-Mile Drive isn’t just transportation; it’s a scenic “in-between” experience. You’re driving a forested route that helps you shift from city energy to coastal calm without the day feeling like constant driving.
Here’s how to use this time well. Don’t treat it as a drive-by corridor. When you’re on a private day, you can request photo stops when the light is right and you can also move on quickly if a viewpoint isn’t working for you. Your guide’s job is to help you get the best angles with less guesswork.
You’ll likely pass through areas connected to Carmel and Pebble Beach-style scenery, but you don’t have to do “everything.” The value is that you can spend more time when something grabs you—then keep going when you’d rather not. That matches the coast perfectly: sometimes you want a slow linger, and sometimes you want to keep rolling to the next big view.
Monterey Bay Aquarium Plus Fisherman’s Wharf: Two Kinds of Town Energy
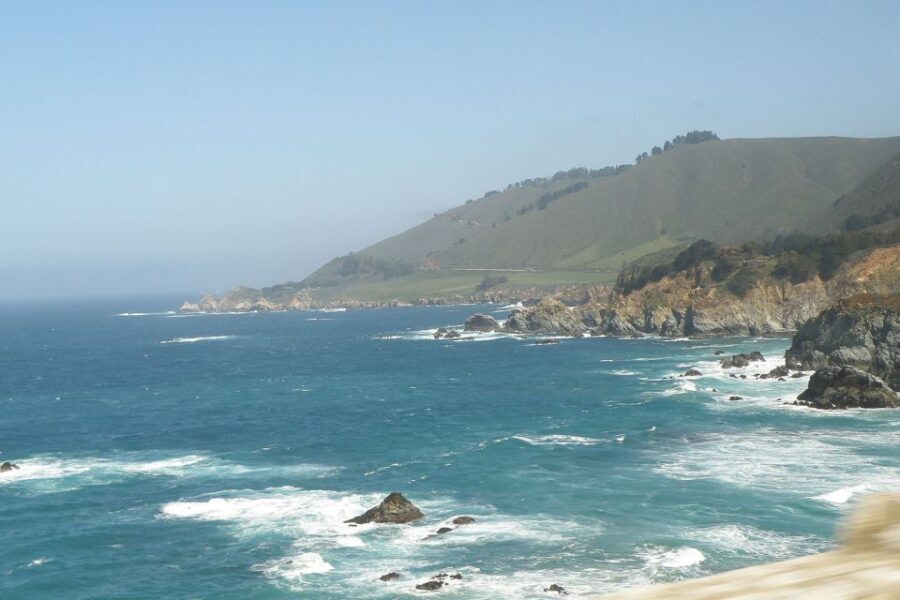
Monterey is where the day gets pleasantly balanced. Instead of only wild coastline drama, you also get a more structured, visitor-friendly hub. This tour includes time for the Monterey Bay Aquarium and Fisherman’s Wharf.
A key detail: entrance tickets are not included. So you’ll want to plan for that cost if you’re set on Aquarium time. The tradeoff is that the tour still saves you a lot of friction. With a private guide, you can decide how long you want at the Aquarium versus how much time you want walking the Wharf area and getting your fill of that classic harbor atmosphere.
What I like about pairing these two: they solve the “what if we get tired of driving?” problem. If the coast day hits you with full-on waves-and-cliffs intensity, the Aquarium gives you a different kind of focus. And if you’re Aquarium’d out by midday, Fisherman’s Wharf is the easy reset—walkable, casual, and great for wandering without needing a big plan.
Also, because you’re not on a bus schedule, you can adjust. Maybe you want extra time by the water. Maybe you want to move quickly. On this style of day, you’re not locked in.
Big Sur Core Highlights: Bixby Creek Bridge Views Without the Chaos
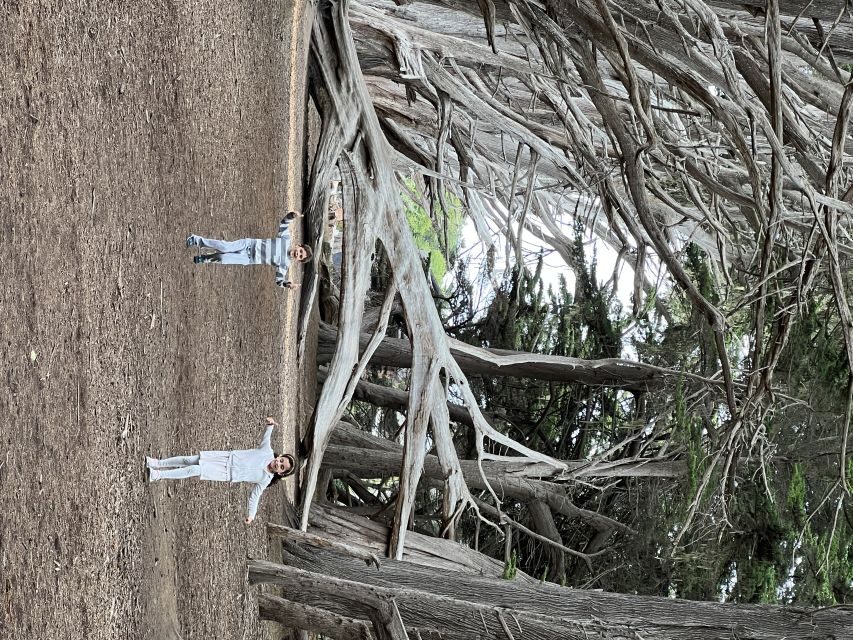
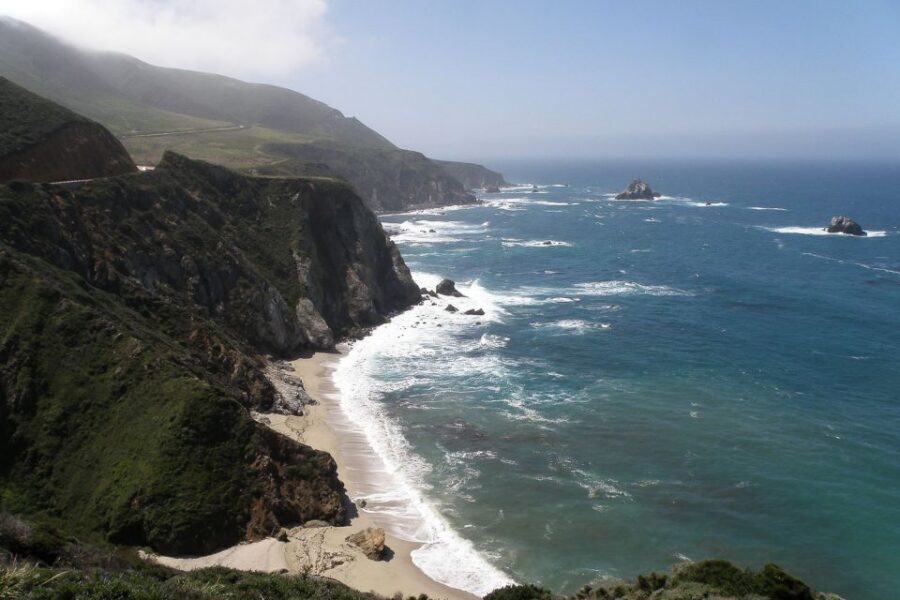
Big Sur is why most people sign up, and this tour places you where the iconic scenery starts doing its job. You’ll drive down to Bixby Creek Bridge, one of the region’s most famous coast viewpoints. Even if you’ve seen photos before, it’s the kind of stop that feels different in person—wind, scale, and that long Pacific horizon.
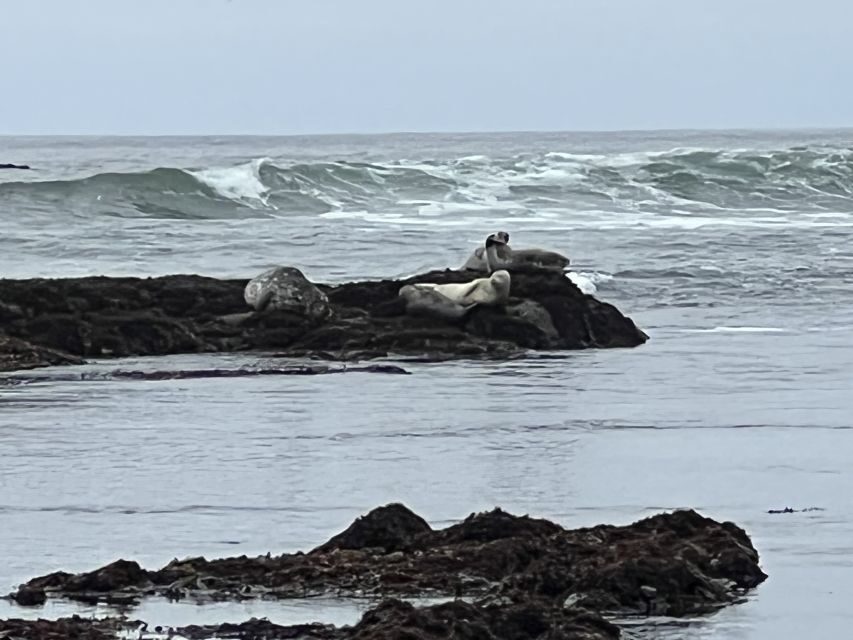
From there, you’ll head toward Point Lobos State Reserve south of Carmel, a stretch that’s all about coastline scenery and wildlife spotting potential. You don’t need to be an expert to appreciate this area. The power is in the setting: rugged coast, ocean views, and the feeling of stepping into a protected slice of Big Sur.
This is also where a good guide matters most. The point of a private tour isn’t only the ability to stop. It’s the ability to stop well. Your guide can help you decide where to park, where to walk, and how long to spend so you’re not tearing through viewpoints just to “check boxes.”
In real terms, that’s the difference between Big Sur feeling like a highlight and Big Sur feeling like an endurance event.
Food, Photo Stops, and the Car Rules You Should Actually Plan For
A private coast day sounds effortless. It isn’t complicated, but it does require a little mental setup.
First, remember the car rules: no eating, smoking, or drinking alcohol in the vehicle. That’s typical for many premium transfers, and it means all breaks are built into the stop rhythm rather than happening mid-drive.
Second, plan your “photo strategy.” This tour is built around the idea that your guide will recommend where to stop to take pictures or explore further. In other words, you won’t just be dropped at one scenic pullout and left to guess. Guides named Fred (and also Marciano in other feedback) are repeatedly described as friendly, flexible, and helpful about choosing the best spots—and that matters when you’re chasing views along a changing coastline.
Third, don’t be afraid to ask for variety. Private tours often work best when you tell your guide what you’re in the mood for:
- scenic viewpoints and short walks
- calmer neighborhoods for strolling
- a food break based on what you actually want to eat that day
On a private day, it’s realistic to add or swap small experiences if time allows. One reason many people love this setup is that it can fit your interests rather than forcing you into a single script.
Guides Matter: How Fred and Marciano Change the Day
This tour is explicitly about more than transportation. It’s a live guide experience, and the language options include English, Portuguese, and Spanish. The guide can explain what you’re seeing, help you understand what to look for, and keep the day flowing smoothly.
From reviews, names like Fred and Marciano come up. The recurring theme is that these guides bring a mix of clear information, real friendliness, and flexible handling of requests. That shows up in practical ways: picking safe, comfortable driving windows; steering you toward photo stops; and adjusting the plan if you want to linger somewhere.
One of the most underrated benefits of a great guide is this: you stop feeling like you’re guessing. If you’re not a “study the map first” type, that support turns the whole day into an easier, more enjoyable experience. And if you are a planner, you’ll still appreciate that your guide can help you tighten the day so you don’t waste time.
Price and Logistics: What $926 Per Group Really Buys You
Let’s talk money, plainly. The price is $926 per group up to 4 for a 10-hour day. That sounds steep until you do the math in context: for a full car day across multiple major stops, you’re paying for one vehicle, one professional guide, and the logistics that can be a headache if you’re doing it yourself.
What’s included:
- Transportation
- Road tolls
- Surcharges and taxes
What’s not included:
- entrance tickets (if needed)
- wheelchair access
So you’re not paying separately for tolls during the drive, and you’re not dealing with the “who drives and who navigates” problem for a full day on coastal roads.
For couples or small families, the value can be strong because you share the cost. For solo travelers, it’s more of a splurge, but it still can make sense if you’d rather pay for convenience and guided pacing than invest time into planning and driving all day.
The best part? Private tours like this often remove the wasted minutes. You stop when it’s worth stopping and skip what doesn’t fit your mood. That makes the price feel less like a “tour fee” and more like buying time and stress-free movement.
Who This Tour Fits Best (and Who Might Not Love It)
This tour is best for people who want:
- a full-day coast experience without bus logistics
- flexible stop choices (you decide what to see and how long to linger)
- a guide to recommend photo stops and help interpret landmarks
- the convenience of pickup from San Francisco
You might not love it if you:
- prefer super structured, timed stops where you can plan minute-by-minute
- need wheelchair access (the tour notes wheelchair access isn’t available)
- want the car to function like a snack-and-sip lounge (the car rules prohibit eating and drinking in the vehicle)
If you’re the type who likes control—what to do, what to skip, and where to spend time—this private format is a good match.
So, Should You Book It?
I’d book this tour if your Big Sur day matters and you don’t want to spend your energy on logistics. You’ll get the core icons—Bixby Creek Bridge, Point Lobos State Reserve, Monterey Bay Aquarium, and Fisherman’s Wharf—plus the scenic reset of 17-Mile Drive. And because it’s private, you’re not trapped in a rigid route.
I’d think twice if your priorities are minimal-time stops or you’re traveling with accessibility needs not supported by the tour car. Also, if you hate long car days, plan for breaks where you can stretch during the stops you choose.
If you want a day that feels personal—more “tailored coast” than “drive-by checklist”—this is the kind of private tour that makes the Carmel–Monterey–Big Sur stretch feel doable and genuinely fun.
FAQ
How long is the Carmel, Monterey & Big Sur Private Tour?
It lasts 10 hours. Starting times vary, so you’ll need to check availability for the day you want.
Is pickup from San Francisco included?
Yes. Pickup from your accommodation in San Francisco is included. Pickup in other Bay Area cities may be available by arrangement.
What’s included in the price, and what isn’t?
Included: transportation, road tolls, and surcharges and taxes. Not included: entrance tickets (if needed), and wheelchair access is not available.
What languages are available for the guide?
The live guide is available in English, Portuguese, and Spanish.
Is there free cancellation?
Yes. You can cancel up to 24 hours in advance for a full refund.
Is wheelchair access available?
No. The tour notes that wheelchair access is not included/available.